Overview
Hyper gives editors a field for links to entries, assets, external websites and other destinations. You choose which destinations editors can select and what additional information each link needs. A page might need one call-to-action button, while a resources page needs a list of links.
To create a field, open Settings → Fields → New Field and select Hyper as the field type. Give it a name and a handle: the handle is the name you use to access the field in templates.
Field Settings
Use Default Link Type to choose the destination type selected when an editor adds a link. For a field mainly used for external resources, choose URL. Editors can switch to another enabled type when they need it.
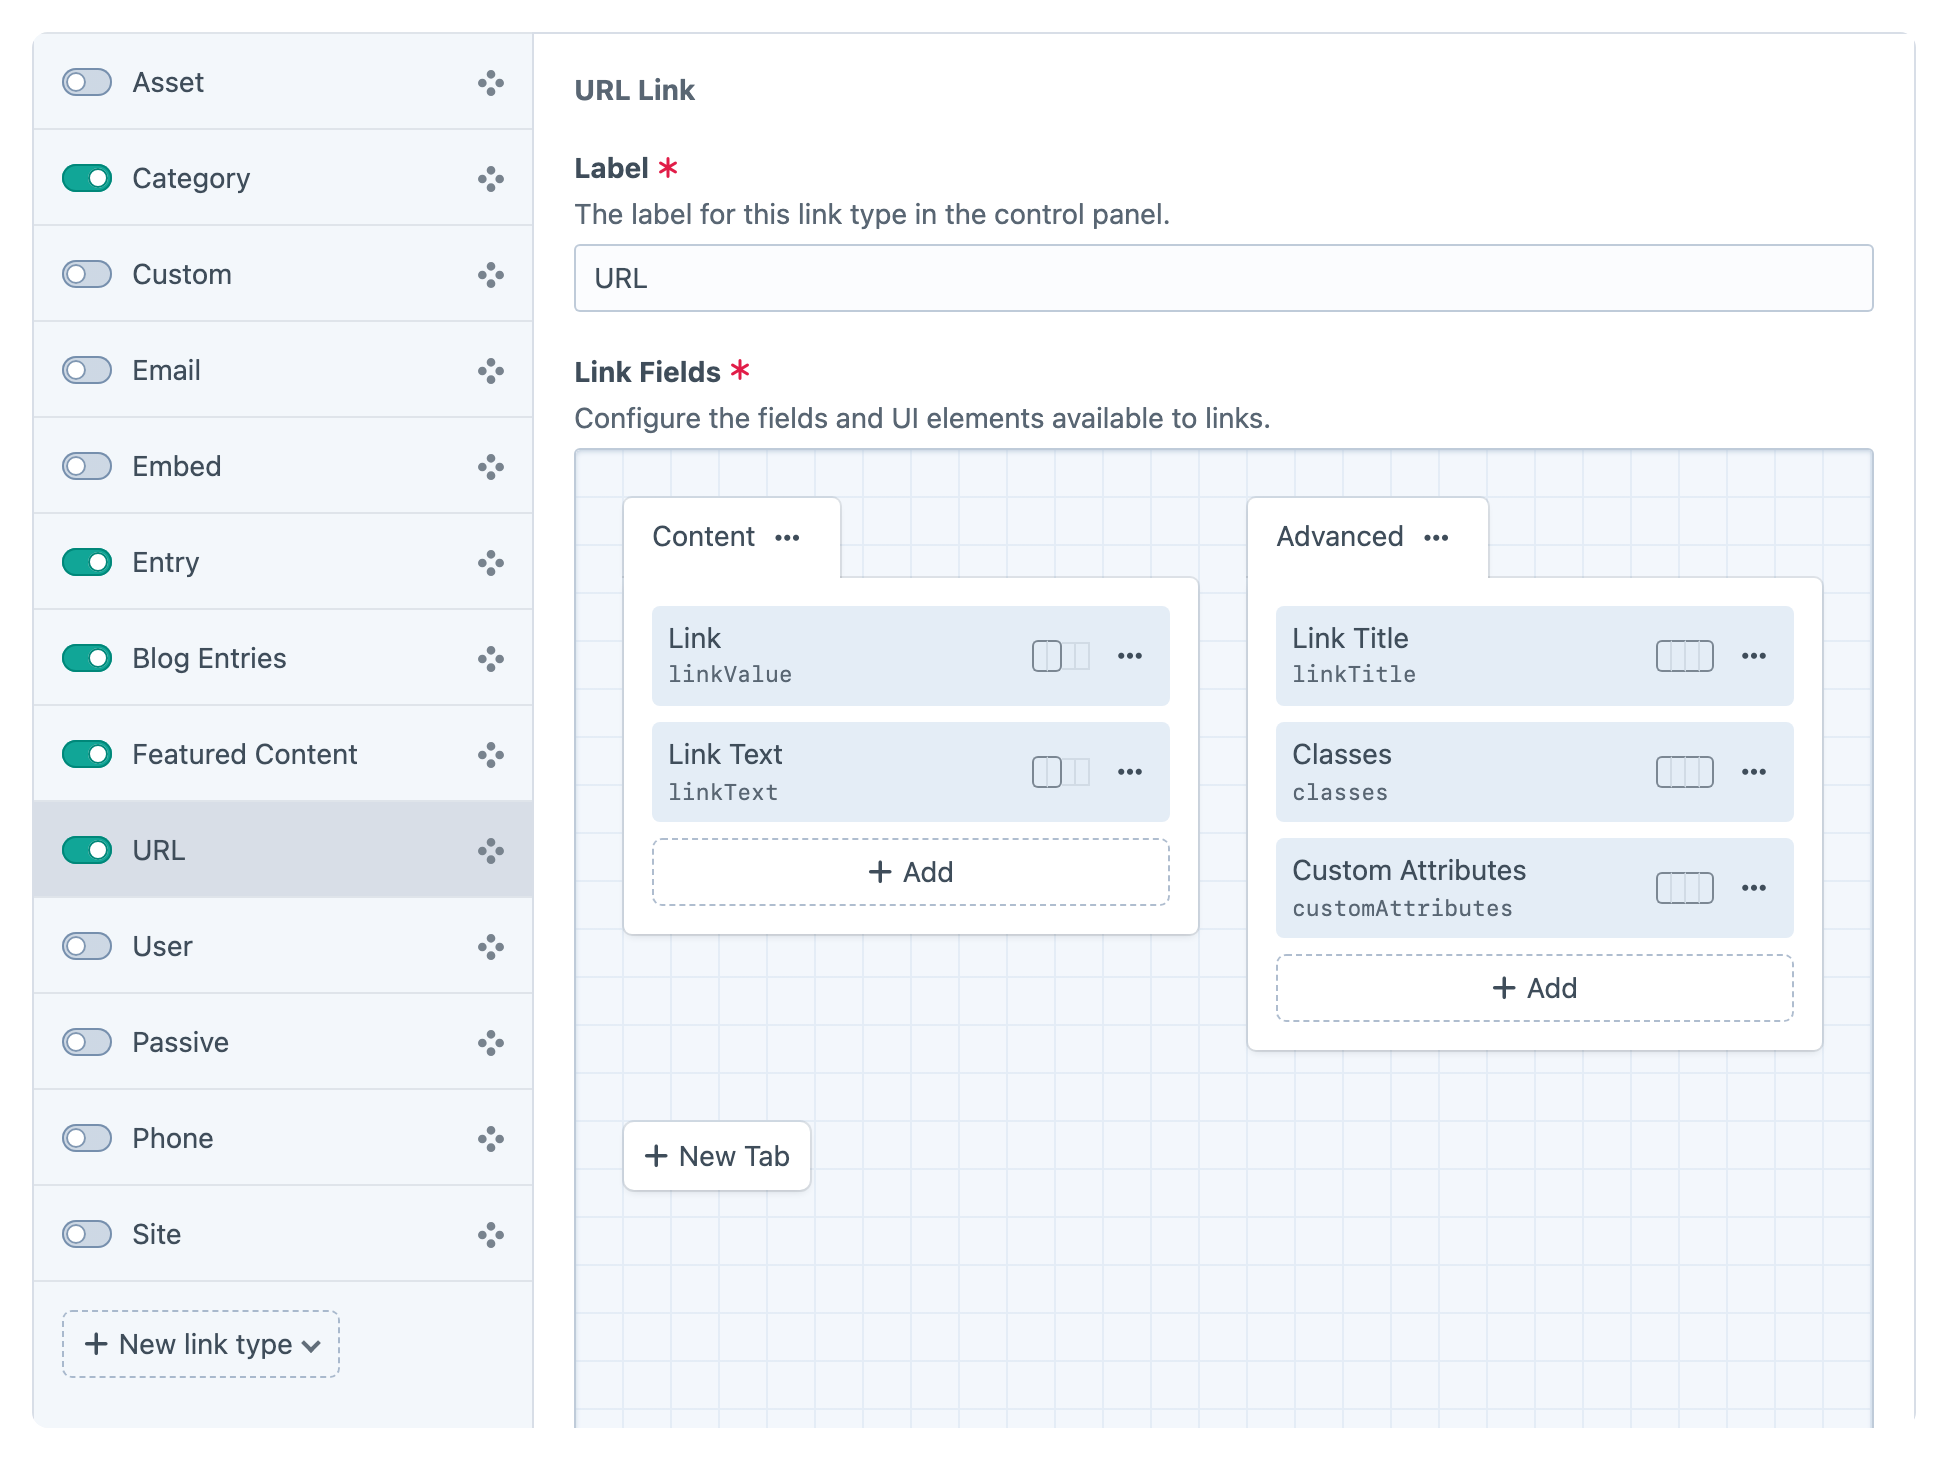
Enable New Window in Header lets editors choose whether a link opens in a new window. You can also add the New Window field to a link type’s layout to show that choice alongside its other fields. See Link Type Settings for the relationship between the layout control and the header icon.
Multiple Links
Leave Enable Multiple Links off for a single button or destination. Turn it on for a resource list or navigation, where editors need to add, reorder and remove several links in one field. Set the minimum and maximum number of links when the content needs a particular limit.
With multiple links enabled, Enable Bulk Add allows editors to select several elements or enter one URL, email address or phone number per line for types that support bulk creation. View Mode controls how links are presented in the editor; it does not change your template output.
Link Types
Each field can use a shared Link Type Config, or Custom settings for that field alone. New fields start with the Default config. Before changing a shared config, consider the other fields using it.
Enable the link types your editors need, rename their labels and arrange them in a useful order. For element types, such as Entry, choose which sources editors can select from. For example, restrict a related-articles field to your News section. You can add another instance of Entry with different sources when editors need separate choices for News and Products.
Use Link Fields to arrange the information editors enter for each type. Keep the primary Link field on the first tab; put optional information such as URL Suffix or custom fields on another tab. See Custom Fields Inside Links for an example.
Link Input
Add the Hyper field to the relevant entry type’s field layout, save the layout, then edit an entry of that type. In an empty field, add a link and choose its destination. Enter Link Text when you want your own label, then save the entry.
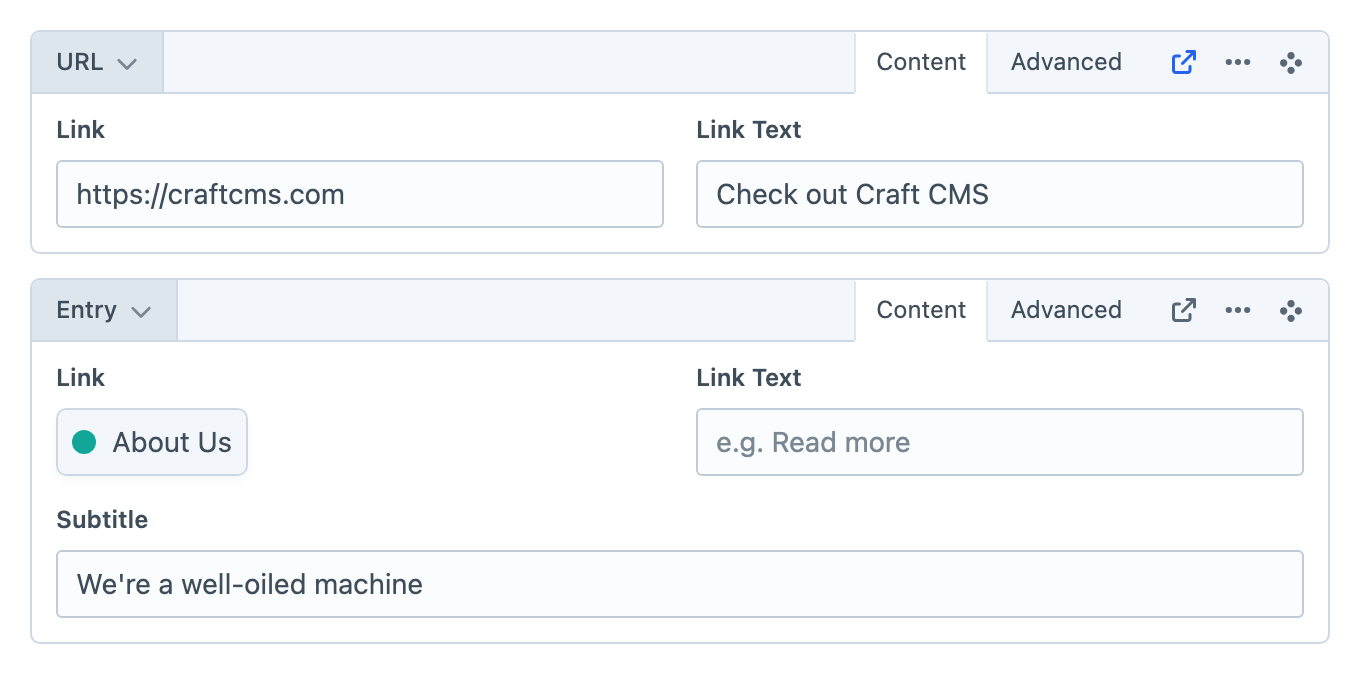
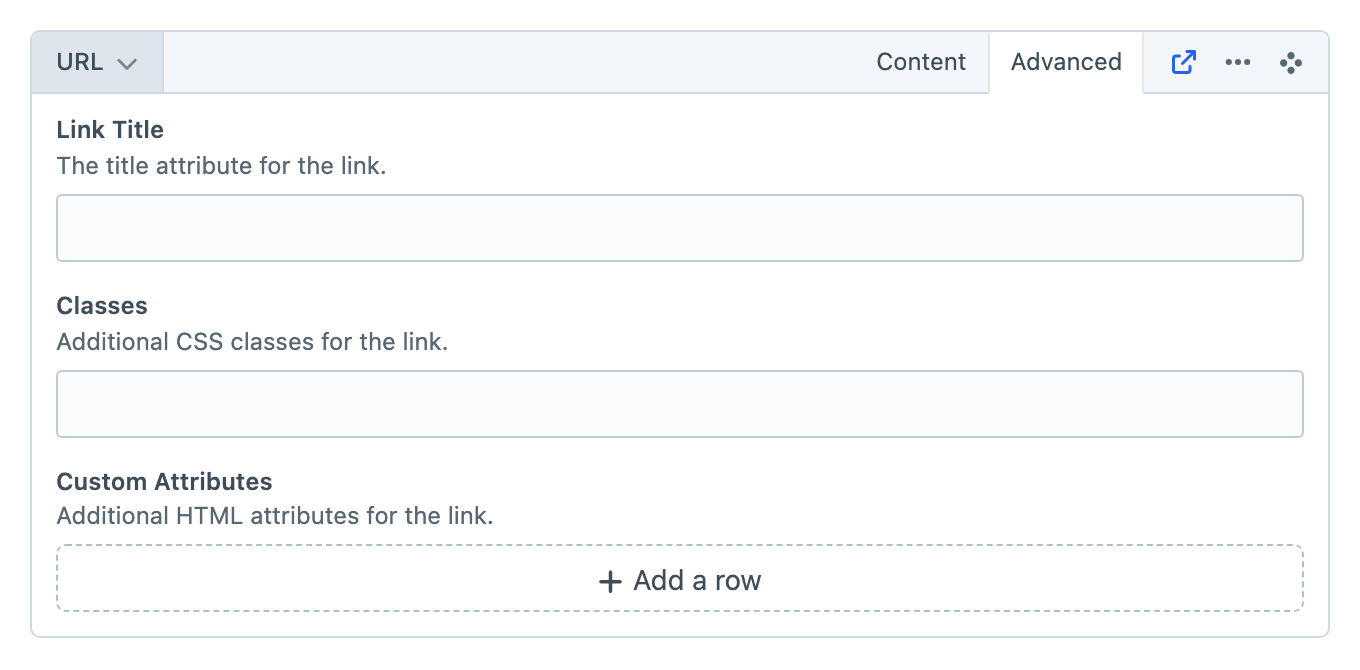
When a link type has several layout tabs, editors switch between them in the link header. The tabs keep optional information accessible without showing every field at once.
Copy, Cut, and Paste
Use a link’s menu to Copy it while keeping the original, or Cut it to move it. Paste into another compatible Hyper field, including one on another entry. The destination must have a compatible link type enabled; custom fields are matched by their handles.
The clipboard belongs to the browser where you copied the link. Save the affected entries to keep your changes. After pasting, check the destination and custom fields, particularly when the two Hyper fields use different layouts.
Rendering
A saved Hyper field is available in your entry’s Twig template. For a single link, use the field’s handle:
{{ entry.myLinkField.getLink() }}Replace myLinkField with your handle. This outputs an anchor with the link’s label and attributes, or nothing when there is no URL to render. Rendering Links covers single links, lists, labels without destinations and custom markup.