Form Templates#
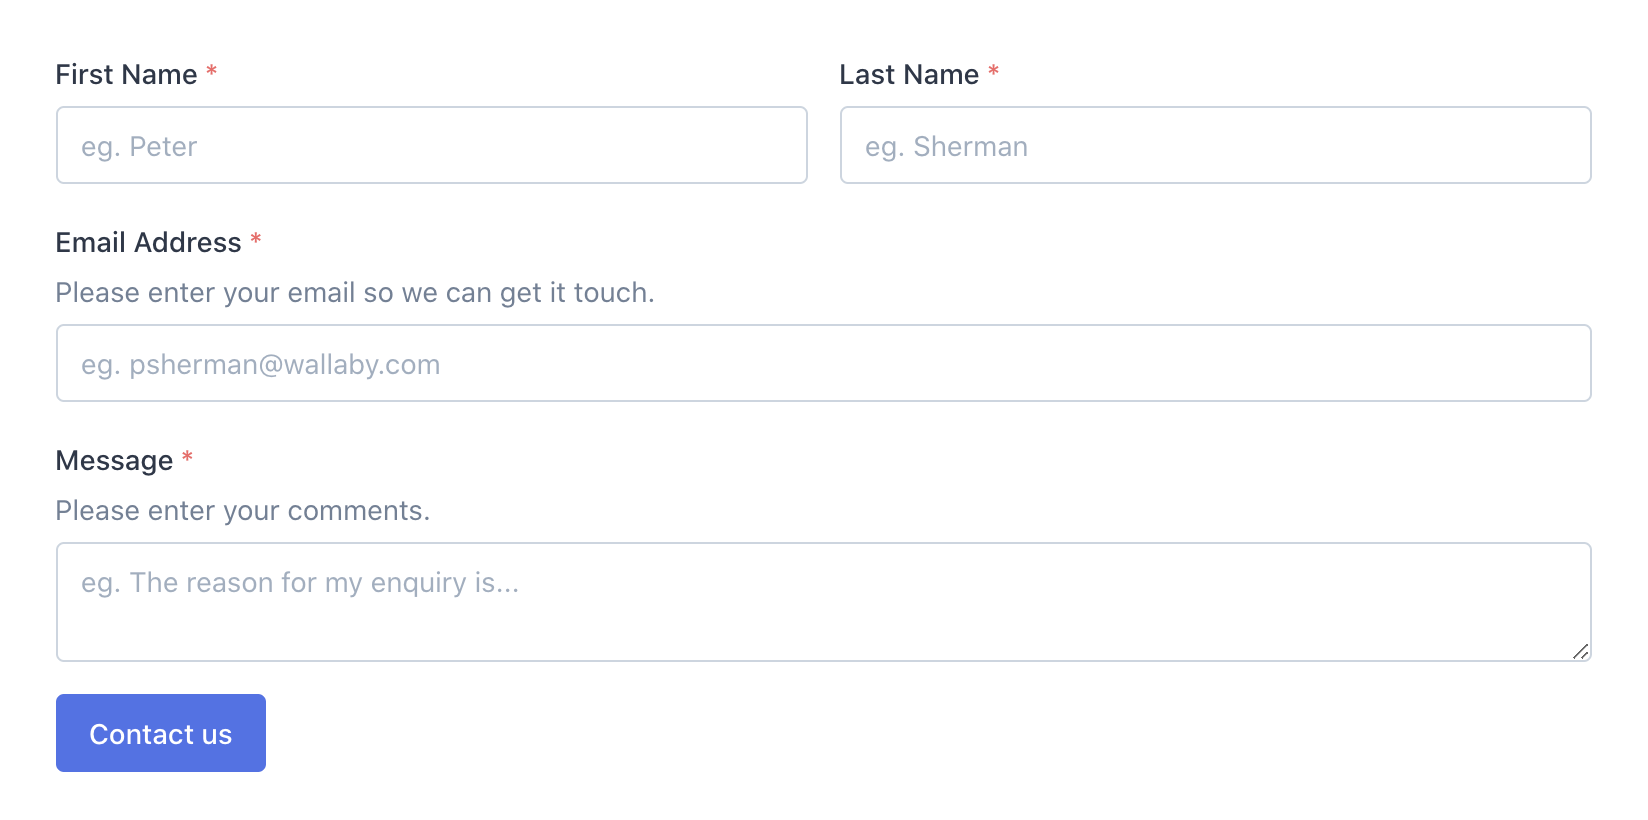
Form templates allow you to create custom templates for the rendering the form, page, rows and fields that Formie creates. It also provides a means to control any CSS and JS used in the front-end templates. Each Form, can be assigned a form template, so you can have multiple form templates for a variety of different requirements.

By default, Formie comes with a set of front-end templates for your form, which also include CSS and JS. This is designed for the vast majority of cases where a functional and visually appealing form needs to be rendered on the page. For any form template, you can enable or disable the following:
- Base-level CSS for layout
- Theme-level CSS for opinionated styles
- JavaScript for validation, Ajax submission and more
Form Fields#
For each form template, you can also add custom fields, which will be added to the form builder. Similar to other elements, you can include group fields into tabs. Each tab will appear in the order you specify on the form builder.
Custom Templates#
You can provide your own custom templates to control every aspect of the form's output. To get started, navigate to Formie → Settings → Form Templates.
Create a new form template, and assign the "HTML Template" field to the template directory your custom templates sit. For example, if your templates exist in templates/_forms, you would enter _forms.
You can't modify Formie's default Form Templates. Instead, you create a new Form Template, and ensure your forms use that.
You can choose to use Formie's provided CSS and JS, or provide your own.
You'll notice there's a "Copy Templates" field. You can use this to copy the default template into the provided folder to get off to an even quicker start to customize the template.
With your Form Templates and Custom Templates setup and ready to go, continue reading the in-depth Custom Templates templating guide.